 Call
Call If you are only prefilling data for the merchant, this is the latest point where you should invite the merchant to check their data and the Access PaySuite system will take over. If you are doing a Direct Debit, it is the merchants’ responsibility to fill in this form and accept the agreement before submitting the application.
However, if you are doing a full API onboarding, this is the process to follow.
You have to
- Create an application contact
- Get an order form (a.k.a. service agreement)
- Present it to the user to allow them to view and accept the service agreement / order form
- The merchant must specifically take an action to show consent.
There are legal requirements around how you present the order form/service agreement acceptance, check with Access PaySuite about this.
If you are going to create the application contact via API, refer to the Contacts topic.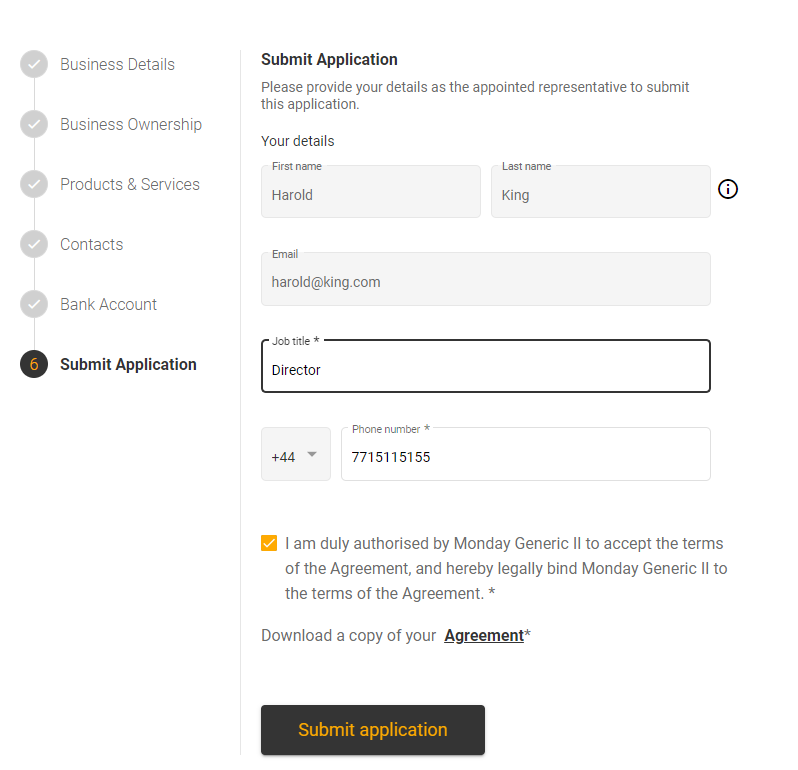
Fetching the Order Form
First, call Get Documents with the query parameters type=AGREEMENT and subtype=SERVICE_AGREEMENT:
curl --location 'https://api.test.pay360evolve.com/demo/pf-api-gateway/apiGateway/merchant/merchants/<merchantId>/documents?type=AGREEMENT&subtype=SERVICE_AGREEMENT' \
  --header 'API_KEY: <API Key>'
This will return the details of the order form. If there is more than one order form, use the one with the latest uploadedAt date. Use the externalDocumentId from the previous response to retrieve the document using Get Document:
curl --location 'https://api.test.pay360evolve.com/demo/pf-api-gateway/apiGateway/document/documents/<externalDocumentId>' \
  --header 'API_KEY: <API Key>'
Submitting
To submit the application use Change On-boarding Application Status
{
    "applicationId": "{{applicationId}}",
    "newStatus": "SUBMITTED",
    "agreementAcceptance": "BY_MERCHANT",
    "reason": "Application details completed"
}
Checking the application record for status changes
Your system should now poll the application record to track the status of the application. You should check the statuses, and to do this use findAllStatusChangesByApplicationUsingGET
The following statuses are available: NEW, SUBMITTED, PENDING, EXPIRED, REFERRED, PREAPPROVED, APPROVED, REJECTED and CANCELLED. See the tabe below for details on each status.
| NEW | Merchant records successfully created |
| SUBMITTED | Application submitted successfully but awaiting validation; onboarding not completed until it is is approved. |
| PENDING | Successfully submitted, but supporting documentation is required. See the Uploading Documents topic |
| EXPIRED | Application made successfully, but deadlines related to checks have not been met. |
| CANCELLED | An application is cancelled before submission (the merchant does not wish to proceed). | REFERRED | May require further checks for risk management and compliance purposes. | REJECTED | The application has been rejected finally |
| APPROVED and PREAPPROVED | Can start to take payments. |
Getting an ETag number
You need an ETag to do the submitting. If you are submitting the application via API, you will need an ETAG number, which you can retrieve with the application ID. Use the Get Applications API call to get a list of the applications for the merchant (you should normally see one result being returned). Use the application ID to submit a Get Application request to return the details for that particular application. The ETag is returned in the response header.
An example of a Get Applications call.
[
    {
        "merchantId": "11011621",
        "id": "11009407",
        "status": "NEW",
        "type": "ONBOARDING",
        "createdAt": "2022-05-26T15:48:49.305Z",
        "createdBy": "Pay360:apikey_10000329@pay360evolve.com",
        "lastStatusChangeAt": "2022-05-26T15:48:49.305Z"
    }
]